How to organize Your Pottery Studio

Creating different zones
In my studio, I’ve learned how important it is to separate different stages of the process. I keep one shelf just for fresh work that needs to dry, another for bisque fired pots, and another for glazed pieces waiting for the kiln. It makes such a difference, nothing gets mixed up, and I can see clearly what stage everything is at.
For working, I prefer a high table with a surface that’s easy to clean and not sticky. Laminated tables, cement board HardieBacker type, plaster boards or canvas stretched over boards work really well. Having these small “zones” makes my day flow so much better.


Where everything lives
If you’re like me, you probably have way too many tools, jars, brushes, and random studio things. The only way I stay sane is by giving everything a “home.”
I keep my glazes and underglazes on their own shelf, and all my materials stay together there too, slips, stains, oxides, wax resist, everything in one place so I don’t have to look around.
On another shelf I keep my equipment: the banding wheel, the scale, the respirator mask, extra buckets, and all the little things I need when mixing or glazing.
For tools, I use the Tool Rack, which has holes that fit all my ceramics tools, so they’re always upright and easy to find.

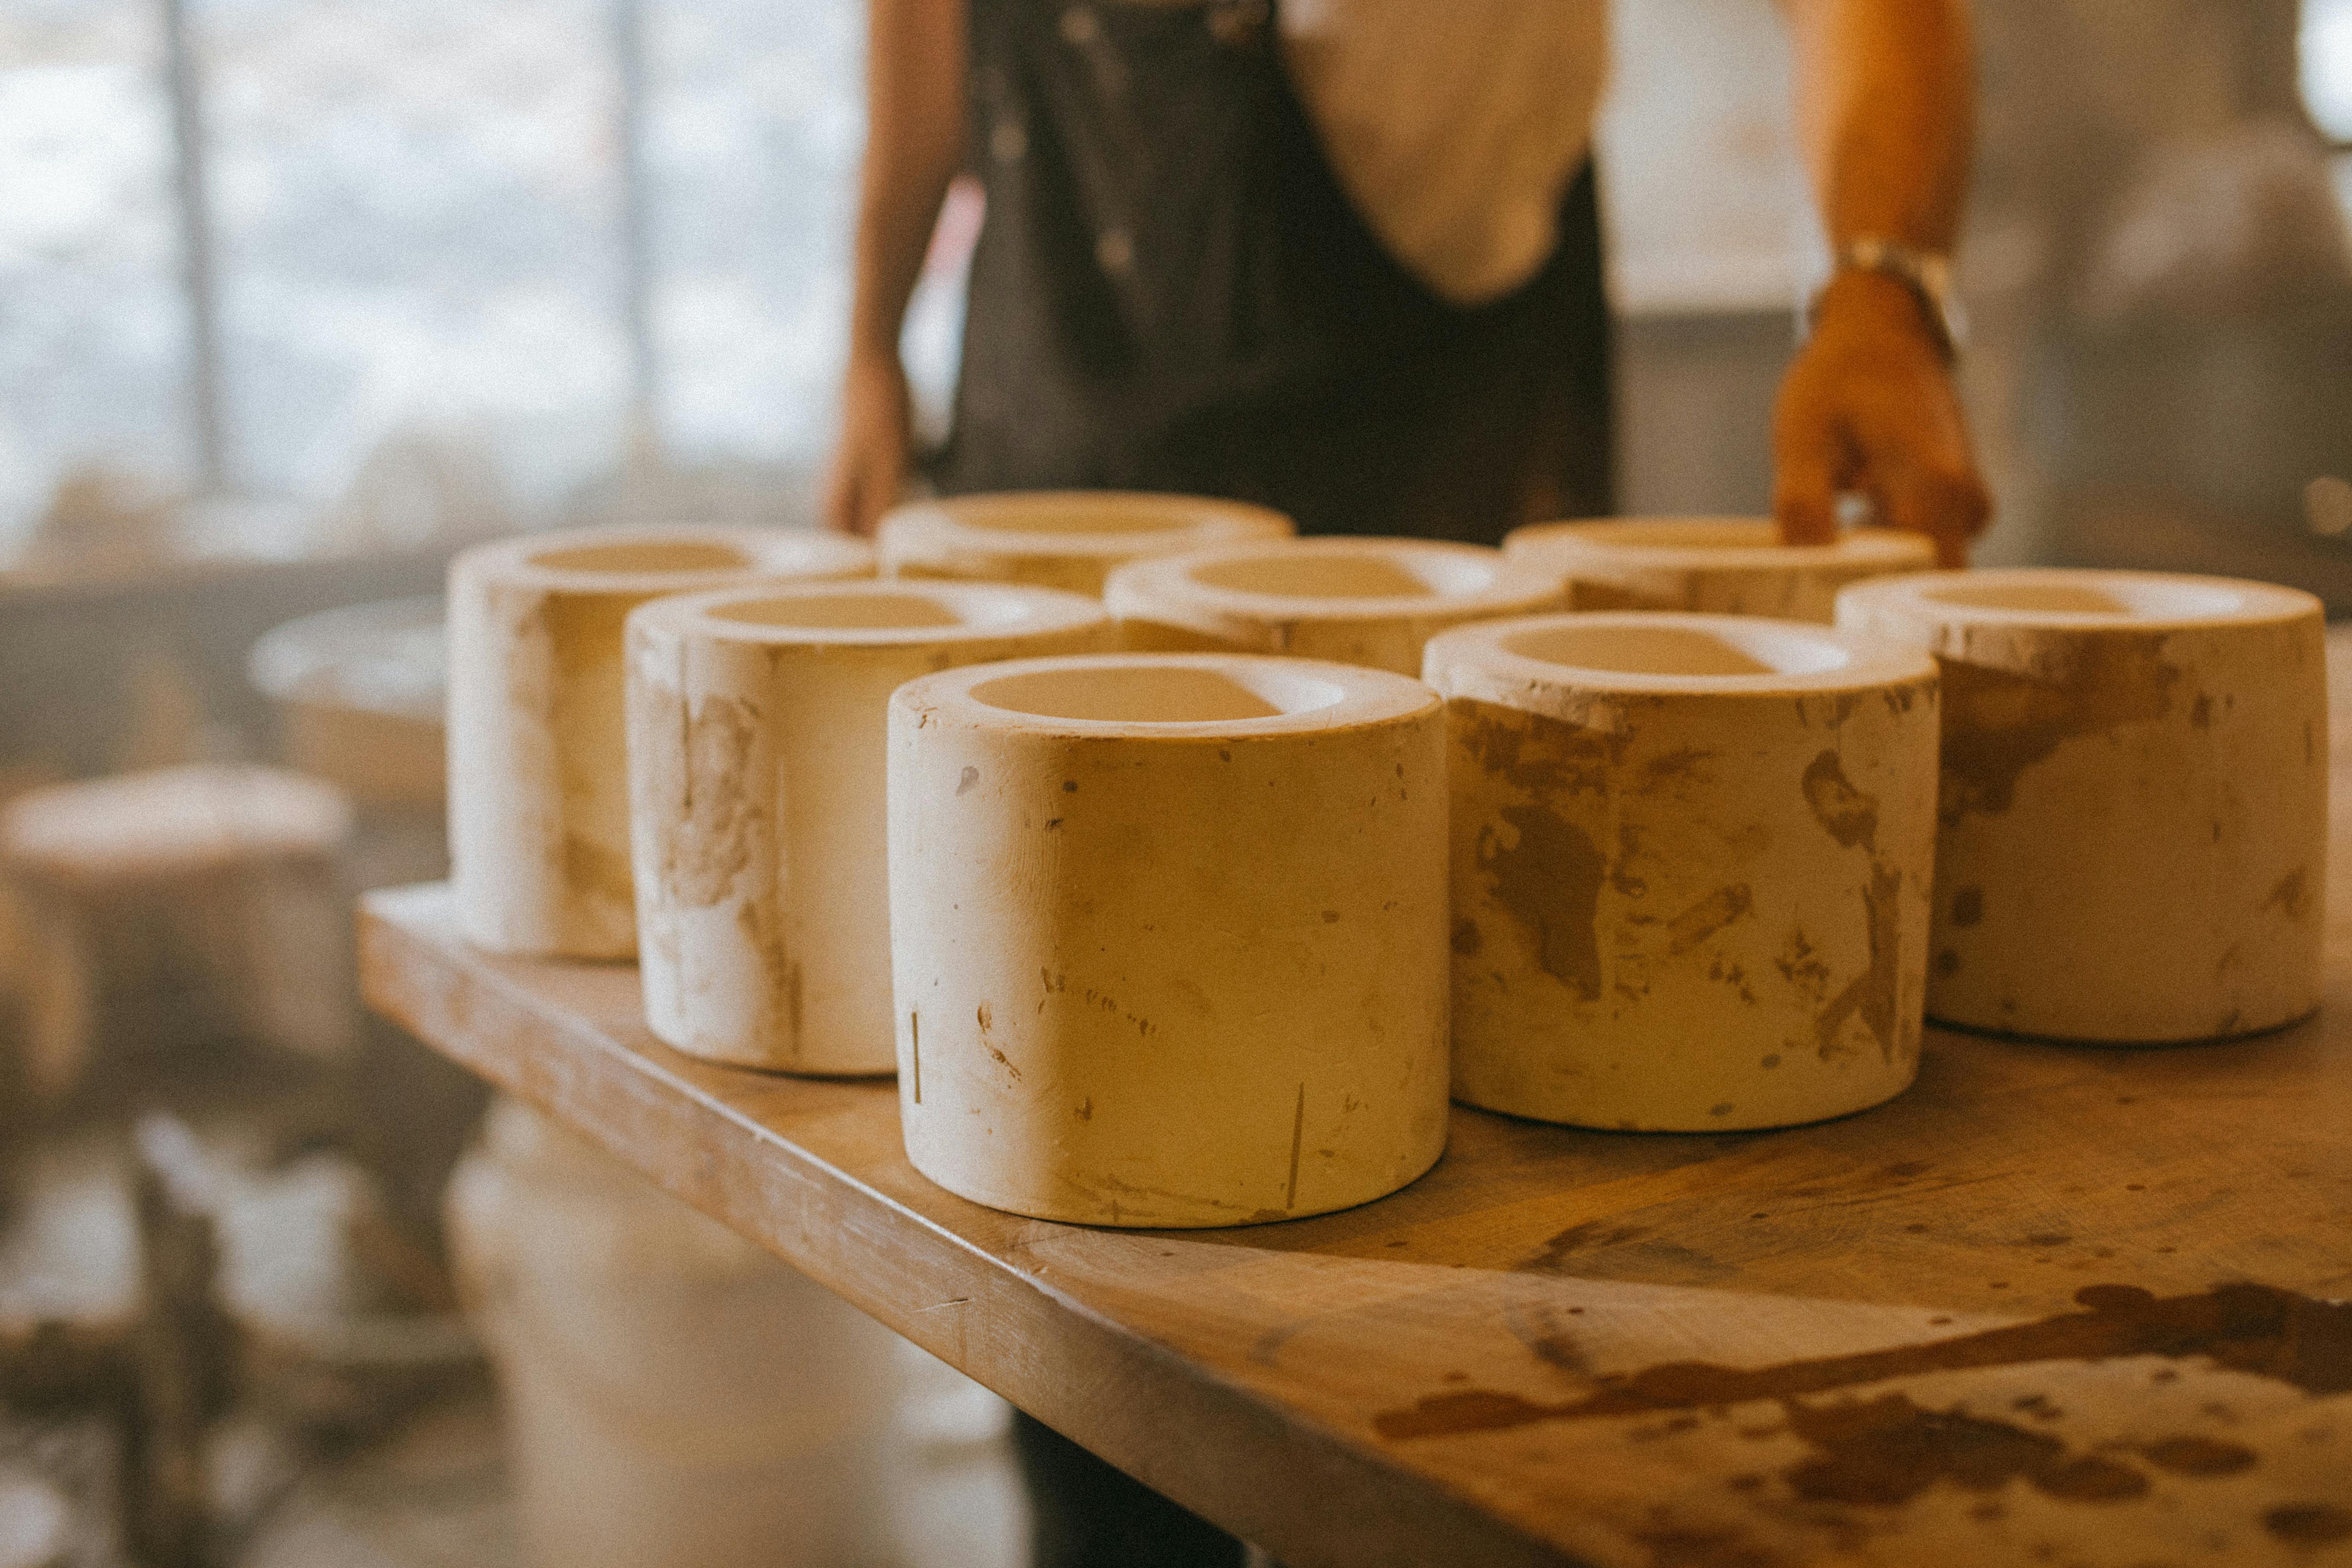
Clay storage and recycling
Clay can take over your space so quickly if you don’t have a system. I keep my fresh clay blocks inside a piece of furniture I found at a garage sale, it’s open with a wire grid, and I love to keep all the clay in one place. I also like that I can see the clay from outside. It’s better to store clay a little higher up rather than on the floor, so you don’t always have to crouch down to pick it up.
For recycling, I’ve set up a simple system that works well. I keep one bucket for white clay and another for brown clay, both sitting on a dolly so I can move them easily, those buckets get really heavy. I also use a plaster bed to dry out slop clay and a plaster slab to wedge it back into shape. I always end up with more recycled clay than I expect, and honestly, it saves me money and feels good to waste less. Even if your studio is small, having one dedicated spot for clay recycling is a lifesaver.

Studio on the go with The Artist Nest
Over the years, I’ve built a number of favourite tools I can’t live without: trimming tools, ribs, carving tools, brushes… the basics that I reach for every single time. These are things I need just as much in my studio as when I head out to a class, a workshop, or simply to play with clay at a friend’s house. With The Artist Bag, my life has become so much easier because I always keep a set of essentials packed and ready. The 18 exterior pockets are perfect for sponges, ribs, loop and ribbon tools, all the little things I like to keep duplicated: one set in my studio, another always in my bag, ready to go.
The interior pockets, make it just as practical. If I’m working hand-built, I’ll slip in a small roller, an angle cutter for slabs, or whatever specific tools I know I’ll need that day. There’s space for a water bottle, a thermos, and my apron, and because the pockets are tall and open at the top, I can see everything at a glance without digging around.

The Artist Bag & The Tool Rack
In the central space, I keep my tool rack, which is always filled with the same tools and ready to move from shelf to bag to table. It saves me so much time, because I don’t have to re-pack or rethink what to take, everything is already organised. That same space also holds my sketchbook and iPad, which makes it feel like my creative kit is complete, wherever I go. For me, it’s not just about carrying things, it’s about being able to arrive anywhere and start working straight away. That’s when I feel most focused and free to create.
If you're looking for a pottery tool bag with serious organisation, I've written a complete guide comparing different options available in Australia.
What do you have and what are you missing?

Tools List
✦ Loop and ribbon tools
✦ Wooden, rubber & metal ribs
✦ Fettling knife
✦ Needle tool
✦ Brushes
✦ Wire cutter
✦ Scissors
✦ Modelling tools
✦ Wooden paddle
✦ Wooden rolling pin
✦ Plastic scraper
✦ Sponges
✦ Banding wheel
✦ Tool rack
✦ The artist bag
Materials List
❤︎ Glazes
❤︎ Stains and oxides
❤︎ Underglazes
❤︎ Slip and engobes
❤︎ Paint mediums
❤︎ Plaster for molds
❤︎ Wax resist
❤︎ Recycling bats
❤︎ Plastic sheets/fabrics for covering work
❤︎ Bubble wrap/fabric for transporting
❤︎ Plastic crates for transporting to kiln
❤︎ Buckets
❤︎ Mixing bowls
❤︎ Measuring jugs
Equipment List
▶︎ Table with non-stick surface
▶︎ Shelves: drying, bisque & glazed
▶︎ Plaster bat reclaiming clay
▶︎ Plaster slab for wedging
▶︎ Pottery wheel
▶︎ Banding wheel
▶︎ Kiln (or access to kiln)
▶︎ Digital scale
▶︎ Respirator mask
▶︎ Hot wax pot (for wax resist)
▶︎ Clay extruder
▶︎ Slab machine (or rolling pin)
▶︎ Spray gun or airbrush
▶︎ Tripod & background paper roll for photography
Choosing the Right Pottery Tool Bag
If you're heading to pottery classes, workshops, or a shared studio and tired of tools
getting tangled or damaged in transit, I've put together a detailed guide on what to
look for a pottery tool bag. It covers internal vs external pockets, capacity,
durability, and what makes The Artist Nest bags different from imported options.